Exercise 2: Extend an existing renderer
In this exercise, you'll extend the provided label renderers to create a clickable "hyperlink label" that can launch the default browser when tapped.
This exercise includes steps for all platforms supported by Xamarin.Forms. You're not required to complete the steps for every platform but it's recommend you run the exercises on at least two.

To complete the exercise, you will need Visual Studio for Windows or macOS with the Xamarin development tools installed. You will also need either an emulator/simulator or a device to run the exercise on. Please see the setup page if you need help installing the Xamarin development environment.
Open the starter solution
This exercise is a continuation of the previous exercise. You can use your existing solution or begin from the prior Exercise 1 > Completed solution in your copy of the cloned or downloaded course materials.
If you're using Visual Studio on Windows, you'll see all of the platform or head projects: iOS, Android and Windows. If you're using macOS, the Windows projects will be disabled (grayed out).
Create a derived element
You'll create a new element in your shared code that derives from Label. Later, when you create the renderers, you'll apply them to this element.
-
In the
XFDrawshared project, create a new class namedHyperlinkLabel. -
Update the signature to derive from
Label.
using Xamarin.Forms;

namespace XFDraw
{
   class HyperlinkLabel : Label
   {
   }
}
Consume the custom element
- Open MainPage.xaml in the XFDraw shared project.
- Add an xml namespace named local to reach the XFDraw namespace.
-
Replace the existing
Labelwith your newHyperlinkLabeland leave all existing properties as they are.
<ContentPage ...
   xmlns:local="clr-namespace:XFDraw">
   <Grid x:Name="mainLayout" Padding="10">
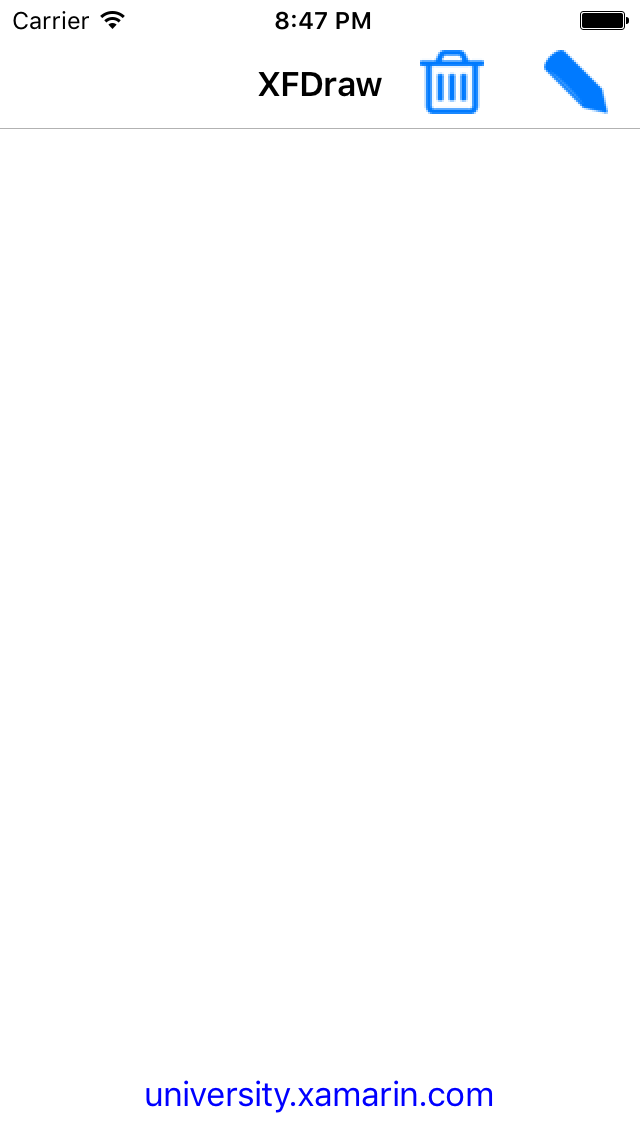
       <local:HyperlinkLabel Text="university.xamarin.com" HorizontalOptions="Center" VerticalOptions="End" />
   </Grid>
</ContentPage>
Create the Android renderer
-
In the Android head-project, create a new class named HyperlinkLabelRenderer that derives from
LabelRenderer. -
Add a constructor that takes an Android
Contextand passes theContextto the base constructor. This is required for Android renderers. -
Override
OnElementChanged. -
The
Labelrenderer creates an AndroidTextViewwhich is reachable from the Control property. CallLinkify.AddLinksto update the nativeTextViewto a clickable hyperlink control; set the match options to All. -
Add the
ExportRendererassembly attribute above the namespace declaration to connect theHyperlinkLabelRendererto theHyperlinkLabelelement you created earlier.
[assembly: ExportRenderer(typeof(HyperlinkLabel), typeof(HyperlinkLabelRenderer))]
namespace XFDraw.Droid
{
   class HyperlinkLabelRenderer : LabelRenderer
   {
      public HyperlinkLabelRenderer(Context context) : base (context)
      {
      }

      protected override void OnElementChanged(ElementChangedEventArgs<Label> e)
      {
         base.OnElementChanged(e);

         Linkify.AddLinks(Control, MatchOptions.All);
      }
   }
}
Create the iOS renderer
- In the iOS head-project, create a new class named HyperlinkLabelRenderer that derives from LabelRenderer.
-
Override
OnElementChanged. -
The Label renderer creates an iOS
UILabelwhich is reachable from the Control property. Enable touch interaction on the native control by settingUserInteractionEnabledto true. -
Change the native control's text color to blue by setting the
TextColorproperty. -
Create a
UITapGestureRecognizer. -
Set the recognizer's target using the
AddTargetmethod and point it to either a new named method or a delegate.- Create an
NSUrlfromControl.Text. - Open the url
using UIApplication.SharedApplication.OpenUrl.
- Create an
-
Add the gesture to the native control via the renderer's
Controlproperty. -
Add the
ExportRendererassembly attribute above the namespace declaration to connect theHyperlinkLabelRendererto theHyperlinkLabelelement you created earlier.
[assembly: ExportRenderer(typeof(HyperlinkLabel), typeof(HyperlinkLabelRenderer))]
namespace XFDraw.iOS
{
    class HyperlinkLabelRenderer : LabelRenderer
    {
        protected override void OnElementChanged(ElementChangedEventArgs<Label> e)
        {
            base.OnElementChanged(e);

            Control.TextColor = UIColor.Blue;

            Control.UserInteractionEnabled = true;

            var gesture = new UITapGestureRecognizer();

            gesture.AddTarget(() =>
            {
                var url = new NSUrl("https://" + Control.Text);

                if (UIApplication.SharedApplication.CanOpenUrl(url))
                    UIApplication.SharedApplication.OpenUrl(url);
            });

            Control.AddGestureRecognizer(gesture);
        }
    }
}
Create the Windows renderer
-
In the UWP head-project, create a new class named HyperlinkLabelRenderer that derives from
LabelRenderer. -
Override
OnElementChanged. -
The
Labelrenderer creates a WindowsTextBlockwhich is reachable from theControlproperty. Set itsForgroundproperty to a blue solid color brush. -
In
OnElementChanged, subscribe to itsTappedevent. -
In the handler, use
Launcher.LaunchUriAsyncto open a webpage. You'll need to create a well-formedUri. This means inserting "http://" before the label's content. You can reach the Xamarin.FormsLabelusing theElementproperty. -
Add the
ExportRendererassembly attribute above the namespace declaration to connect theHyperlinkLabelRendererto theHyperlinkLabelelement you created earlier.
[assembly: ExportRenderer(typeof(HyperlinkLabel), typeof(HyperlinkLabelRenderer))]
namespace XFDraw.UWP
{
    class HyperlinkLabelRenderer : LabelRenderer
    {
        protected override void OnElementChanged(ElementChangedEventArgs<Label> e)
        {
            base.OnElementChanged(e);

            Control.Foreground = new SolidColorBrush(Colors.Blue);

            Control.Tapped += LabelTapped;
        }

        private async void LabelTapped(object sender, TappedRoutedEventArgs e)
        {
            var website = Element.Text;

            if (website.IndexOf("http://") == -1)
                website = "http://" + website;

            await Launcher.LaunchUriAsync(new Uri(website));
        }
    }
}
Exercise summary
In this exercise, you extended a renderer to add new behavior to an existing Xamarin.Forms element.
You can view the completed solution in the Exercise 2 > Completed folder of your copy of the cloned or downloaded course materials.