Exercise 1: Using data binding in a Xamarin.Forms application (XAM270)
This exercise introduces how you create and use bindings in code-behind and XAML.

To complete the exercise, you will need Visual Studio for Windows or macOS with the Xamarin development tools installed. You will also need either an emulator/simulator or a device to run the exercise on. Please see the setup page if you need help installing the Xamarin development environment.
Open the starter solution
Open the starter solution from the Exercise 1 > Start folder in your copy of the cloned or downloaded course materials in either Visual Studio on Windows or Visual Studio for Mac.
- Open the FunFlacts.sln (Fun Flag Facts) solution in the Exercise 1/Start.
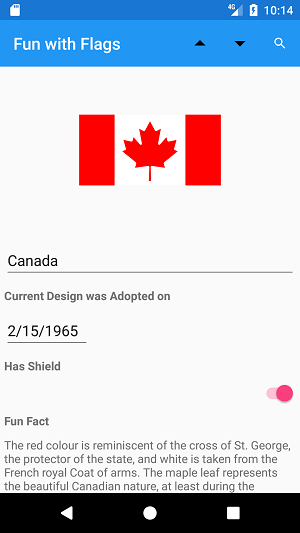
- Build and run the application to ensure it's working. It displays a single flag and allows you to edit the details of the flag. It has a Show button in the Tool bar which displays the details of the underlying
Flagin an alert box. - The solution contains five projects but you will perform all your work in the FunFlacts Portable Class Library which is the shared code and UI layer. You also have a data assembly where all the flag data is loaded from - this could be from an Azure service for example. The other three projects are the platform-specific host projects for iOS, Android and UWP.
- Here are the classes / files you will work with:
| File | Description |
|---|---|
| App.cs | Contains the Application class for your Xamarin.Forms application which defines the starting page for the application. |
| MainPage.xaml(.cs) | Defines the UI and logic for your initial page. The XAML file defines the UI using markup, the associated code file then provides the behavior for the UI. |
| FlagRepository.cs | This class is in the FlagData project and contains the sample data you will be working with. This defines a repository class that retrieves your flags. |
| Flag.cs | Also in the FlagData project and defines the Flag class used for all the objects coming from the repository. |
Create a binding in code
First, you'll manually create a single binding to see the required information and steps. There are three required pieces of information: source (BindingContext), property path, and target BindableProperty.
- Open MainPage.xaml.cs and locate the
InitializeDatamethod. - Comment-out or delete the lines which set the country
Pickercontrol'sSelectedItemproperty and theSelectedIndexChangedevent handler. - Set the
BindingContexton thecountrycontrol to the activeFlag. - Create a
Bindingwhich has the property path - you want to tie to theCountryproperty on your flag. -
Finally, add a binding to the
countrycontrol using theSetBindingmethod - you want to associated theBindingto thePicker.SelectedItemPropertyproperty.private void InitializeData() { country.ItemsSource = (IList) repository.Countries; // country.SelectedItem = CurrentFlag.Country; // country.SelectedIndexChanged += (s, e) => CurrentFlag.Country = repository.Countries[country.SelectedIndex]; country.BindingContext = CurrentFlag; country.SetBinding(Picker.SelectedItemProperty, new Binding(nameof(CurrentFlag.Country))); ... } -
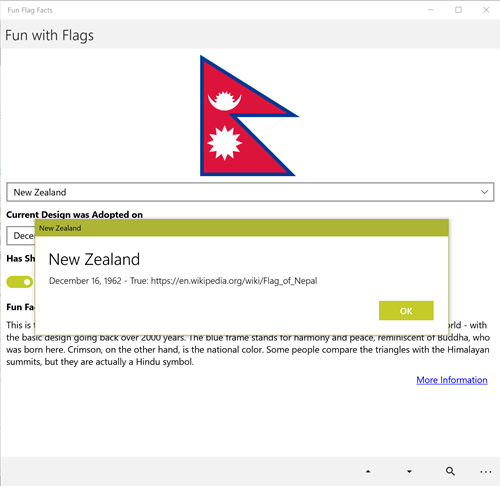
Run the application and make sure the country picker is correctly populated. Try changing it's value and then click the Show button to see if it changed the underlying object as you can see here.

Fun with Flags There is a generic version of
SetBindingwhich doesn't require a string; you are usingnameofhere which performs the same function using a modern C# feature.
Create XAML-based bindings for our controls
More often than not, you will place bindings in XAML which reduces the code-behind, decouples the UI, and makes the code-behind primarily behavior.
-
First, remove the property setters and event handlers from the following controls in the code-behind:
- country
- adopted
- hasShield
- description
You want to leave the flagImage control alone for now - these will require a little more work to data bind.
-
Set the
BindingContextwhich our XAML bindings will pull from. You could set it on every single element here in code, but remember from the lecture thatBindingContextis inherited when it is set on a parent element. So, assign theBindingContexton the page itself - make it theFlagobject you want to get all our data from. Do this at the end of theInitializeDatamethod - in particular make sure it's set after thePicker.ItemSourceproperty is set.If the country Picker no longer displays the country when you run the app, it's likely you are setting the
ItemsSourceafter theBindingContextwhich clears the value.private void InitializeData() { country.ItemsSource = (IList) repository.Countries; // country.SelectedItem = CurrentFlag.Country; // country.SelectedIndexChanged += (s, e) => CurrentFlag.Country = repository.Countries[country.SelectedIndex]; // country.BindingContext = CurrentFlag; // country.SetBinding(Picker.SelectedItemProperty, new Binding(nameof(CurrentFlag.Country))); flagImage.Source = CurrentFlag.GetImageSource(); // adopted.Date = CurrentFlag.DateAdopted; // adopted.DateSelected += (s, e) => CurrentFlag.DateAdopted = e.NewDate; // hasShield.IsToggled = CurrentFlag.IncludesShield; // hasShield.Toggled += (s, e) => CurrentFlag.IncludesShield = hasShield.IsToggled; // description.Text = CurrentFlag.Description; // Set the binding context this.BindingContext = CurrentFlag; } -
Open MainPage.xaml and add
{Binding PROPERTY_NAME}tags on each of the above controls to tie the appropriate property to each target. Examine the code you just commented out to determine the proper source and target properties. For example, the country element would look like this:<Picker x:Name="country" SelectedItem="{Binding Country}" />This ties the
SelectedItemproperty of thePickercontrol to theCountryproperty of theBindingContext(flag).<Picker x:Name="country" SelectedItem="{Binding Country}" /> <Label Text="Current Design was Adopted on" FontAttributes="Bold" /> <DatePicker x:Name="adopted" MinimumDate="01/01/1700" HorizontalOptions="Start" Date="{Binding DateAdopted}" /> <Label Text="Has Shield" FontAttributes="Bold" /> <Switch x:Name="hasShield" IsToggled="{Binding IncludesShield}" /> <Label Text="Fun Fact" FontAttributes="Bold" /> <Label x:Name="description" Text="{Binding Description}" /> - Run the application and ensure each field displays data.
- Press the arrows on the toolbar to try different flags - the values should change. This is because you are changing the
BindingContext- and therefore it's changing the binding values! - Try changing a control's value (for example, select a new country) and click the Show button to see if it changed the underlying object. Hint: it should!
Exercise summary
In this exercise, you updated an existing Xamarin.Forms application and modified it to use Data Binding to populate the UI.
You can view the completed solution in the Exercise 1 > Completed folder of your copy of the cloned or downloaded course materials.