Exercise 4: Add a second screen and navigation
The primary goal of this lab will be to add a second View Controller to the storyboard design surface and display it programmatically.
To complete the exercise, you will need Visual Studio for Windows or macOS with the Xamarin development tools installed. You will also need either an emulator/simulator or a device to run the exercise on. Please see the setup page if you need help installing the Xamarin development environment.
Open the starter solution
This exercise is a continuation of the previous exercise. You can use your existing solution or begin from the prior Exercise 3 > Completed solution in your copy of the cloned or downloaded course materials.
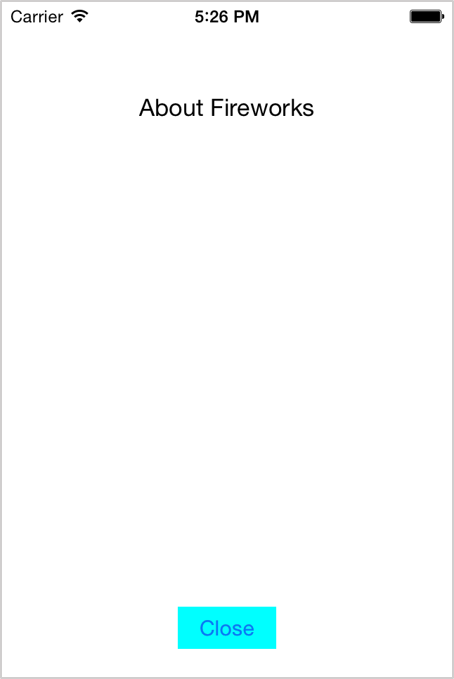
Add an about view controller
- Open Main.Storyboard.
- Search for View Controller in the Toolbox and add an empty View Controller to your storyboard design surface.
- Select the new View Controller by clicking on the bottom bar.
- In the Properties pane under Identity, set the Class field to AboutViewController. Notice that it creates two new files in your project.
- Set the Storyboard ID field to AboutViewController so we can instantiate the new screen programmatically.
- Add some text to your About screen using a label or a text view.
Add the about button
- Search for Button in the Toolbox and drag a new button to the upper right corner of your original View Controller (not About).
- Select the button, and in the properties pane, change its Type to Info Light.
- Set the button's name to buttonAbout.
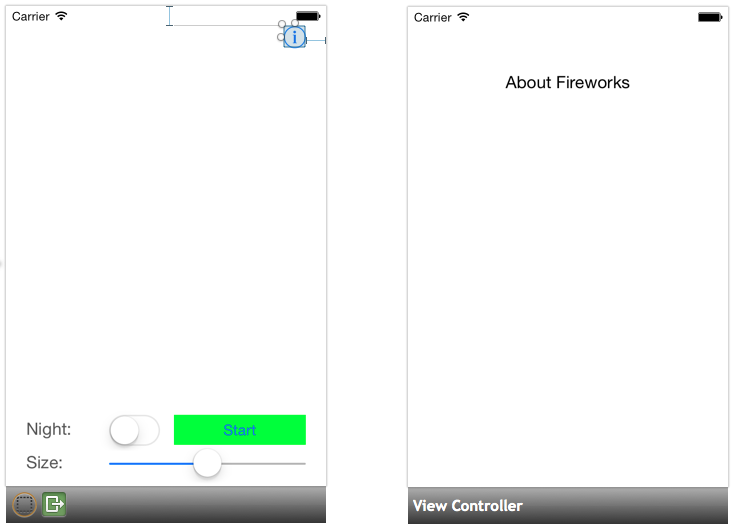
Navigate to the about screen
- Double-click on the new button to add an event handler method.
- Delete the default throw exception code.
- In the new method, instantiate the about screen using the
Storyboard.InstantiateViewControllermethod. - Add code to display the about screen using the
PresentViewControllermethod.
partial void buttonAbout_TouchUpInside (UIButton sender)
{
   var aboutVC = (AboutViewController)this.Storyboard.InstantiateViewController("AboutViewController");

   this.PresentViewController(aboutVC, true, null);
}
Dismiss the about screen
Our about screen is being presented modally and we currently don't have any way to dismiss it. Below are the step-by-step instructions to dismiss the about screen.
- Open Main.Storyboard and add a button to the bottom of the About View Controller.
- Change the button text to Close and name the button buttonClose.
- Wire up the
TouchUpInsideEvent Handler using any of the techniques from the previous exercise. - In the body of the Event Handler method, call
DismissViewController. The first parameter specifies if the View Controller should animate when it's dismissed. The second allows you to specify an Action to be called once the View Controller is dismissed. This can be set to null.
partial class AboutViewController : UIViewController
{
   ...
   partial void buttonClose_TouchUpInside (UIButton sender)
   {
      this.DismissViewController(true, null);
   }
}
Exercise summary
Congratulations! In this lab, you created a second screen using the Xamarin.iOS designer, and both displayed and dismissed it programmatically.
You can view the completed solution in the Exercise 4 > Completed folder of your copy of the cloned or downloaded course materials.