Exercise 1: Create a Xamarin.Android project
This exercise walks you through creating a new Xamarin.Android project. There is no code to write here; however, the instructions will point out a few key parts of the project after you have created it.
To complete the exercise, you will need Visual Studio for Windows or macOS with the Xamarin development tools installed. You will also need either an emulator/simulator or a device to run the exercise on. Please see the setup page if you need help installing the Xamarin development environment.

Create a new Xamarin.Android project
Create a new project using Visual Studio for Mac:
- Launch Visual Studio for Mac.
- Select File > New Solution.
- Locate the Android > App category.
- Choose the Android App template.
Create a new project using Visual Studio for Windows:
- Launch Visual Studio for Windows.
- Select File > New > Project.
- Locate the Visual C# > Android category.
- Choose the Android App template.
Choose your project name and location
- Name the app TipCalculator.
- Choose a location for the project.
- Use the default values for all other project settings.
- Click Create.
- Name the app TipCalculator.
- Choose a location for the project.
- Select Single View App for the template.
- Use the default values for all other project settings.
- Click OK.
Run your application
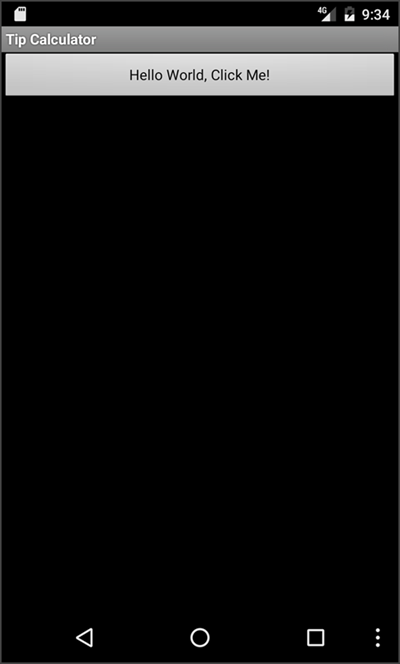
- Run the app and spend a moment using it so you understand its behavior. The template code typically has a single button that displays the number of times it has been clicked.
- Run the app and spend a moment using it so you understand its behavior. The template code typically has a single page with a title bar and menu button, a label, and a floating action button that will display a message when click.
Examine the button XML
Let's take a closer look at the code.
- Open the file Resource > Layout > Main.axml in the Source view. If you find you are in the Design view, click the Source tab at the bottom of the window.
- Examine the XML that declares the Button. Note that the button has an id assigned to it.
<Button
    android:id="@+id/myButton"
    android:layout_width="match_parent"
    android:layout_height="wrap_content"
    android:text="@string/hello" />
- Open the file Resources > layout > activity_main.axml in the Source view. If you start in the Design view, click the Source tab at the bottom of the window.
- Examine the XML that declares the Floating Action Button. Note that the button has an id assigned to it.
<android.support.design.widget.FloatingActionButton
    android:id="@+id/fab"
    android:layout_width="wrap_content"
    android:layout_height="wrap_content"
    android:layout_gravity="bottom|end"
    android:layout_margin="@dimen/fab_margin"
    app:srcCompat="@android:drawable/ic_dialog_email" />
View the main Activity
- Open the file MainActivity.cs.
- The template generated an Activity for you. The Activity attribute for your
MainActivityhasMainLauncherset to true which makes this Activity your app's primary entry point. - There are two things to note in
OnCreate.SetContentViewtakes an identifier for an XML file (Resource.Layout.Main) as its argument and instantiates the UI.FindViewByIdtakes an id and returns a reference to the view with that id. This is how the code gets access to the views in the UI.
[Activity(Label = "TipCalculator", MainLauncher = true, Icon = "@mipmap/icon")]
public class MainActivity : Activity
{
    int count = 1;

    protected override void OnCreate(Bundle savedInstanceState)
    {
        base.OnCreate(savedInstanceState);

        // Set our view from the "main" layout resource
        SetContentView(Resource.Layout.Main);

        // Get our button from the layout resource,
        // and attach an event to it
        Button button = FindViewById<Button>(Resource.Id.myButton);

        button.Click += delegate { button.Text = $"{count++} clicks!"; };
    }
}
- Open the file MainActivity.cs.
- The template generated an Activity for you. The Activity attribute for your
MainActivityhasMainLauncherset to true which makes this Activity your app's primary entry point. - There are two things to note in
OnCreate.SetContentViewtakes an identifier for an XML file (Resource.Layout.activity_main) as its argument and instantiates the UI.FindViewByIdtakes an id and returns a reference to the view with that id. This is how the code gets access to the views in the UI.
[Activity(Label = "@string/app_name", Theme = "@style/AppTheme.NoActionBar", MainLauncher = true)]
public class MainActivity : AppCompatActivity
{

    protected override void OnCreate(Bundle savedInstanceState)
    {
        base.OnCreate(savedInstanceState);

        SetContentView(Resource.Layout.activity_main);

        Android.Support.V7.Widget.Toolbar toolbar = FindViewById<Android.Support.V7.Widget.Toolbar>(Resource.Id.toolbar);
        SetSupportActionBar(toolbar);

        FloatingActionButton fab = FindViewById<FloatingActionButton>(Resource.Id.fab);
        fab.Click += FabOnClick;
    }

    public override bool OnCreateOptionsMenu(IMenu menu)
    {
        MenuInflater.Inflate(Resource.Menu.menu_main, menu);
        return true;
    }

    public override bool OnOptionsItemSelected(IMenuItem item)
    {
        int id = item.ItemId;
        if (id == Resource.Id.action_settings)
        {
            return true;
        }

        return base.OnOptionsItemSelected(item);
    }

    private void FabOnClick(object sender, EventArgs eventArgs)
    {
        View view = (View)sender;
        Snackbar.Make(view, "Replace with your own action", Snackbar.LengthLong)
            .SetAction("Action", (Android.Views.View.IOnClickListener)null).Show();
    }
}
Exercise summary
You can view the completed solution in the Exercise 1 > Completed folder of your copy of the cloned or downloaded course materials.